KLIK / 005 / OpenMontage
OpenMontage: orchestrate video production without the free one-click myth
Follow OpenMontage from brief and scene plan to assets and render. Set up a first workflow, distinguish rendering from generation and control provider costs.
 Hamza Elmakhfi
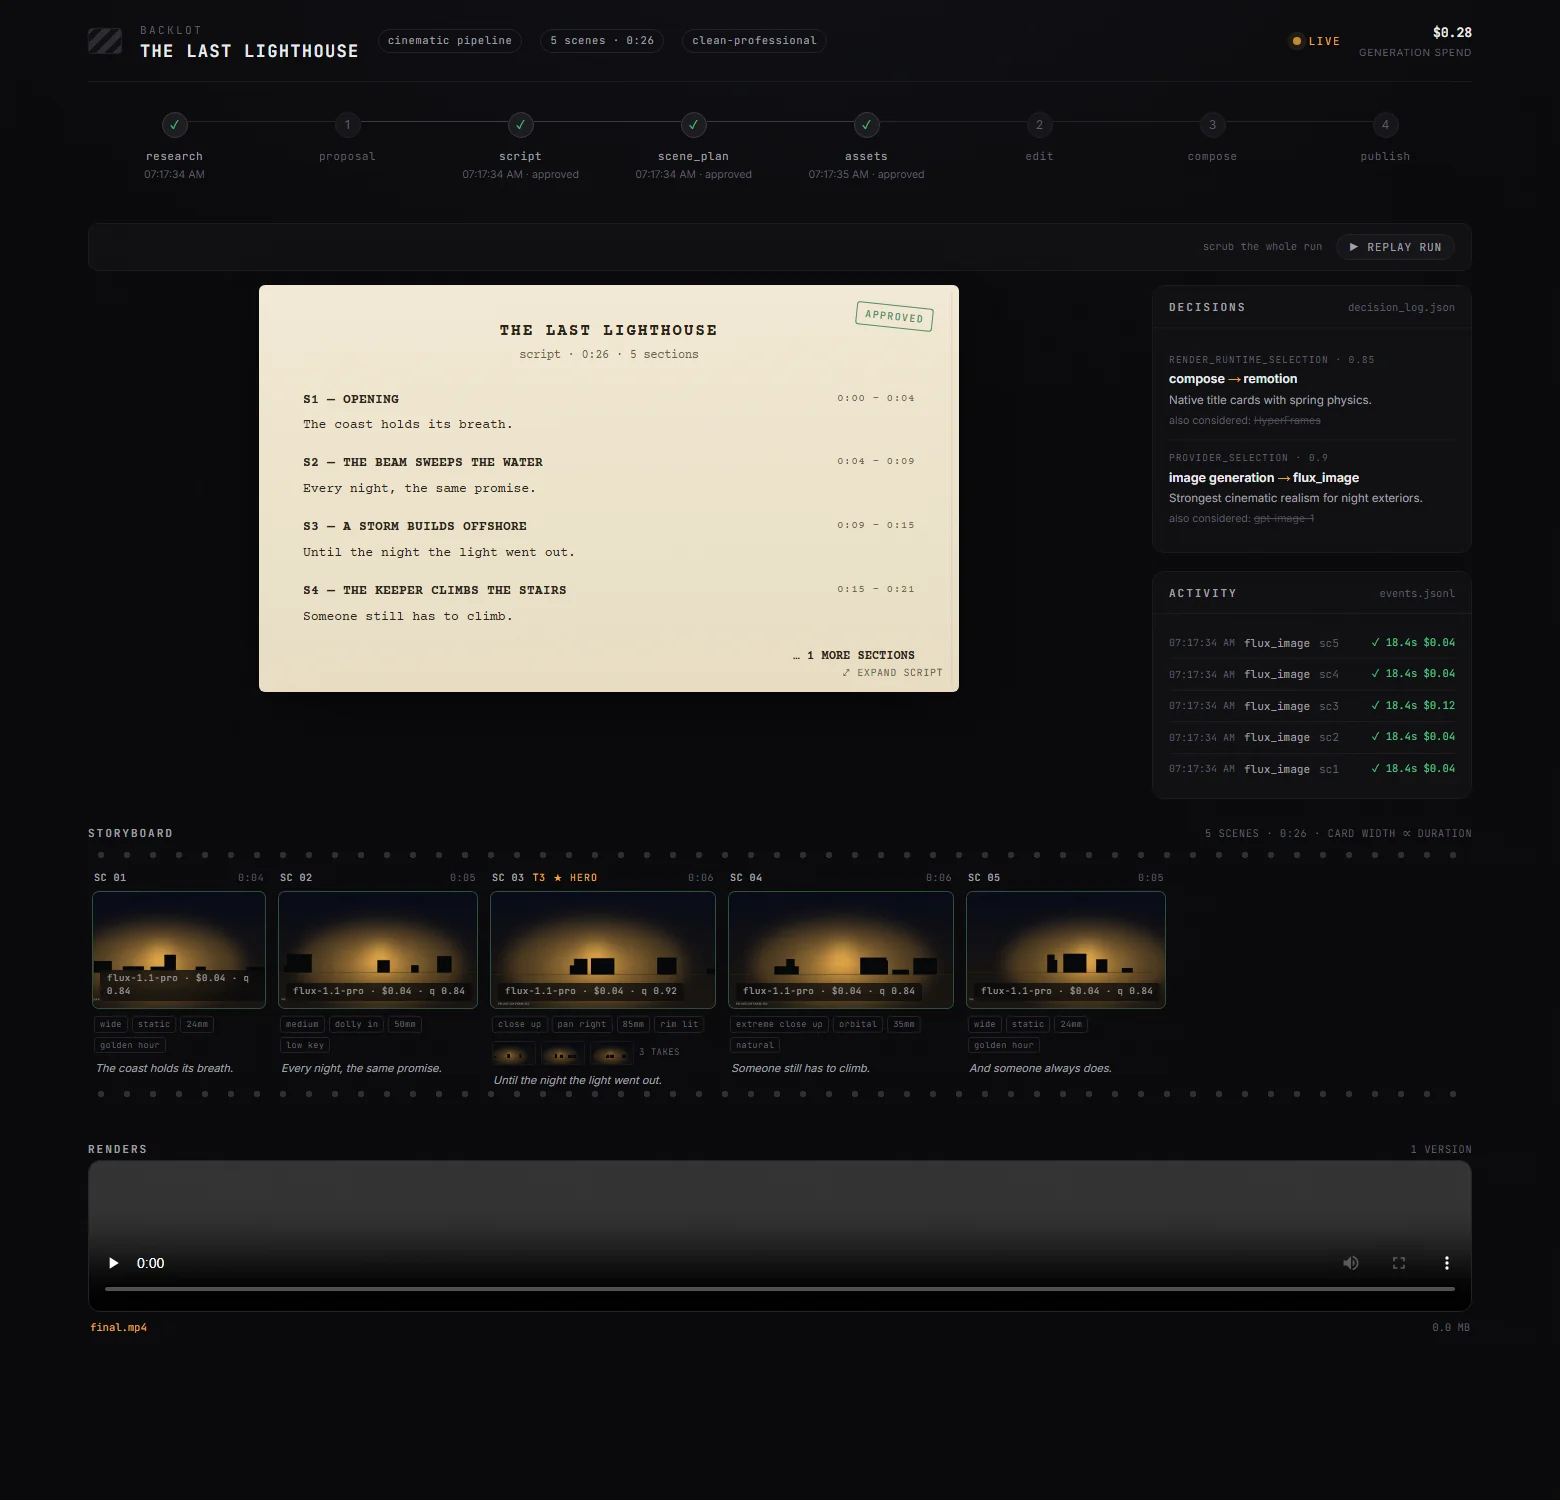
A video is more than an attractive clip. It needs an idea, script, footage or images, voice, timing, subtitles and review. When every stage lives in a different service, moving files and remembering decisions becomes half the work. OpenMontage organizes that chain so an agent follows a production plan rather than handing back unrelated files.
It is not a single model that makes everything from a sentence at no cost. It coordinates workflows, tools and providers: some local, others accessed through APIs. Each choice affects cost and privacy. This guide follows official documentation checked on October 25, 2026, but we have not produced a complete video using every supported integration.
Where it helps
Start from an explainer brief, your footage, a talking head or a reference that communicates pacing. Choose an appropriate pipeline before production. The README describes research, proposal, script, scene planning, assets, editing and composition. Reviewing decisions at those stages can avoid paying for generations based on a script you never wanted.
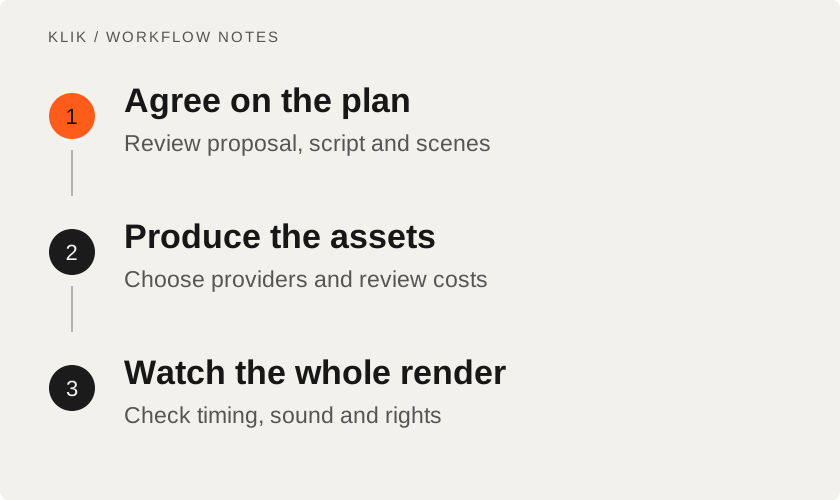
For a first project, explain one tool through three useful ideas and readable captions. Specify audience and aspect ratio, approve text and scenes, then allow asset production. Organization reduces guesswork but does not replace subject knowledge or editorial judgment.
Prepare the tools
The README requires Python 3.10+, FFmpeg, Node.js 18+ and a coding assistant that reads files and executes tools. A HyperFrames workflow has its own Node.js 22+ requirement. Satisfy the highest requirement among the tools actually selected rather than assuming the base minimum covers every pipeline.
You also need Git and space for media and renders. There is no single RAM or GPU minimum for all workflows. Stock-footage composition differs from heavy local generation. External providers need appropriate accounts, credentials and available credit. Do not open every account before knowing what the first experiment uses.
Choose one installation path
With prerequisites and make available, the official quick start is:
git clone https://github.com/calesthio/OpenMontage.git
cd OpenMontage
make setup
These commands retrieve source and execute setup. Review the project and setup files first, and use a separate directory rather than an existing unrelated repository.
For Windows PowerShell without make, the README provides this alternative. Use a fresh clone. If you already have an .env with your settings, save it before this step so it is not overwritten:
py -3 -m venv .venv
.\.venv\Scripts\Activate.ps1
python -m pip install -r requirements.txt
cd remotion-composer
npm install
cd ..
python -m pip install piper-tts
Copy-Item .env.example .env
The virtual environment isolates Python dependencies; npm prepares the composer; Piper adds a local speech path. Copying the environment example starts configuration, rather than connecting every provider. Investigate activation or package errors using the platform guide instead of weakening system-wide security settings to continue.
Keep the first production small
Open the directory in your agent and ask it to read project instructions and propose a pipeline for a short explanation. State boundaries: test media only, no publication, and no paid provider calls until the selection and known cost have been reviewed. Put those limits in the request and keep reviewing proposed actions; instructions alone do not guarantee the agent will follow them.
Review the proposal before the script, and the script before assets. A small sequence might show a problem, one useful step and its result. Specify what must remain legible on mobile and which language is required. Resolve poor Darija pronunciation in a sample before generating the whole narration.
Check each planned scene has a job. Not every sentence requires another image. Existing licensed footage or suitable stock may work. External video generation adds cost, waiting and possible retries; select it intentionally rather than filling every gap with a model call.
Separate rendering from generation
Documentation describes choosing a render runtime during the proposal. Remotion serves workflows built around React scenes, while HyperFrames suits several HTML, GSAP and motion-graphics paths. The choice is recorded in the production plan, avoiding an unexplained mid-project switch.
A renderer composes the video; image or video providers produce its assets. Titles, charts and existing footage may not need a paid text-to-video model. Orchestration does not resolve factual accuracy or footage rights. The HyperFrames guide explains that distinction further.
Budget the actual workflow
OpenMontage's source uses AGPL-3.0, but that is not a production price list. Your coding agent may charge separately. Providers bill according to their services, and stock and music have usage conditions. Prices in a provider guide can change; your account may lack access to a listed model.
Budget image, voice, clips and retries separately. If a request stalls, inspect its existing job before submitting again: a second request can create a second charge. An unknown cost is not zero. Keep secrets out of Git and identify which media or text each provider receives.
Review before delivery
Name versions so you can connect the approved script, voice sample and render to the same plan. If the voice works but images do not, do not regenerate everything automatically. Check which outputs you can reuse before generating more; that helps both cost control and comparison.
For the short explainer, review the first scene with its text and audio before extending that decision to the remaining scenes. If it misses the brief, correct the reference or request. "This title is too long for the shot; shorten it without losing the meaning" gives you something to check. You can see whether it is now readable, rather than retrying "make it more professional" without deciding what should change.
Watch the complete render and listen to the audio. Check synchronization, Arabic text, names, asset rights, audio level and shot duration. The project describes automated technical reviews, but those do not replace a person's viewing. A technically valid export can still communicate the wrong idea.
Keep assets, script and scene plan if the video will continue in your usual editor. OpenMontage is useful for a production chain you want to organize and inspect. A quick cut from one existing video may be faster in an editor you already know. For synthetic voice, revisit VoiceStudio and the relevant rights before delivery.
Keep reading
All KLIK guides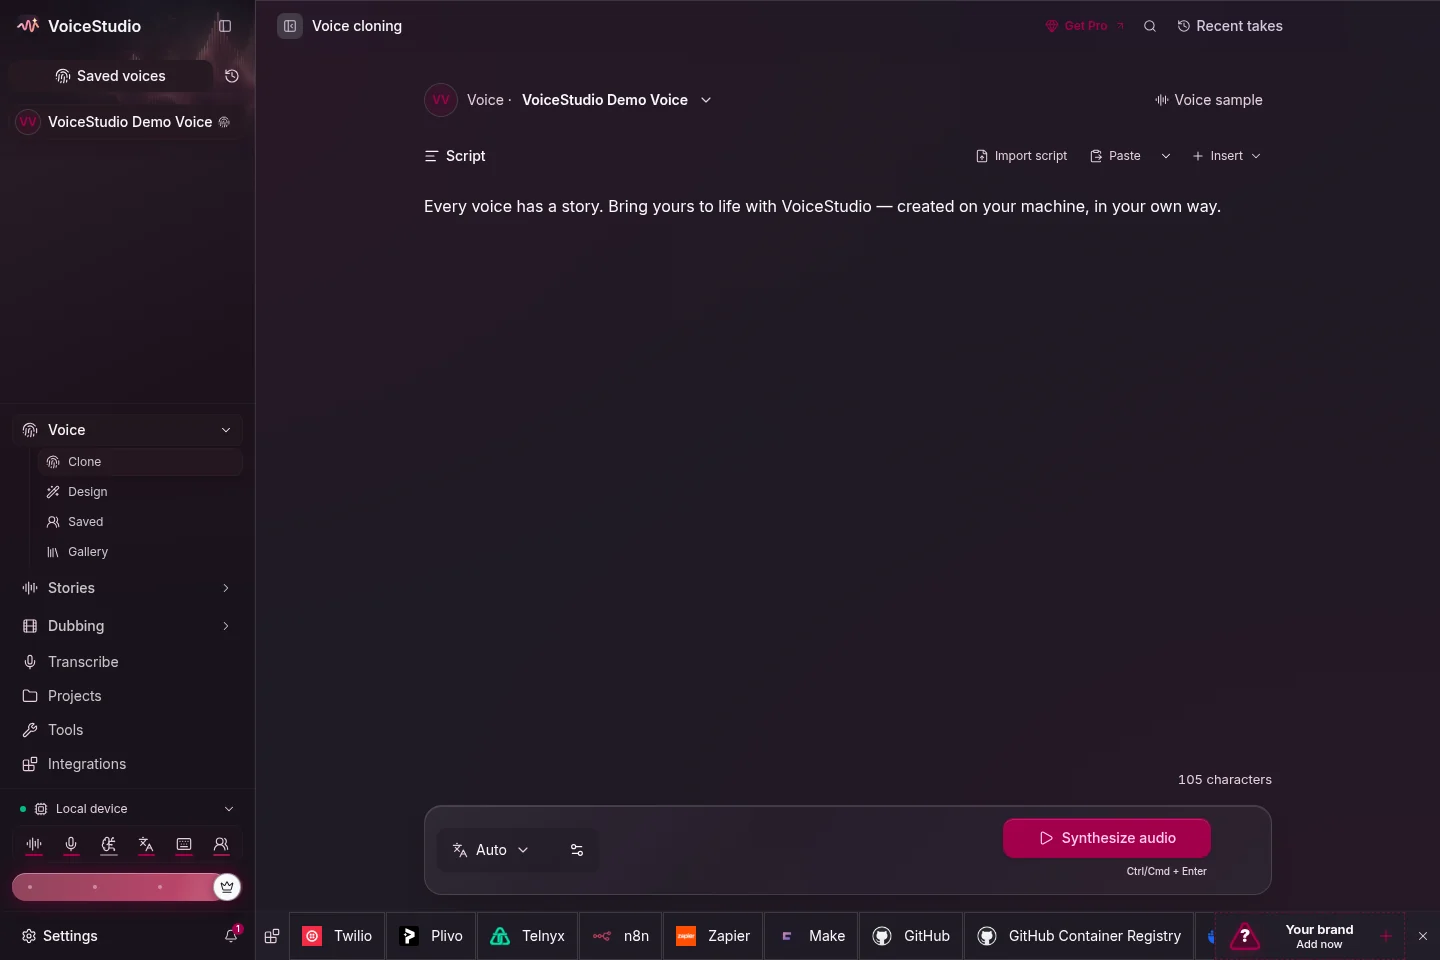
KLIK / 001VoiceStudio · English
VoiceStudio: a practical start with local voice generation and cloning
Install VoiceStudio, choose a speech engine and evaluate a first voice sample. Understand platform support, local versus remote processing and model licensing.
KLIK / 008Paperclip · English
Paperclip: coordinate agents, tasks and budgets without the autonomous-profit claim
Start Paperclip locally with one agent, a narrow goal, approvals and budgets. Understand the coordinator, external runtimes, permissions and operating costs.
KLIK / 009HyperFrames · English
HyperFrames: render HTML motion graphics to video, without confusing it with a model
Create a first HyperFrames project, edit a small composition, preview and render it. Understand timing, fonts, audio, platform paths and external media costs.