KLIK / 001 / VoiceStudio
VoiceStudio: a practical start with local voice generation and cloning
Install VoiceStudio, choose a speech engine and evaluate a first voice sample. Understand platform support, local versus remote processing and model licensing.
 Hamza Elmakhfi
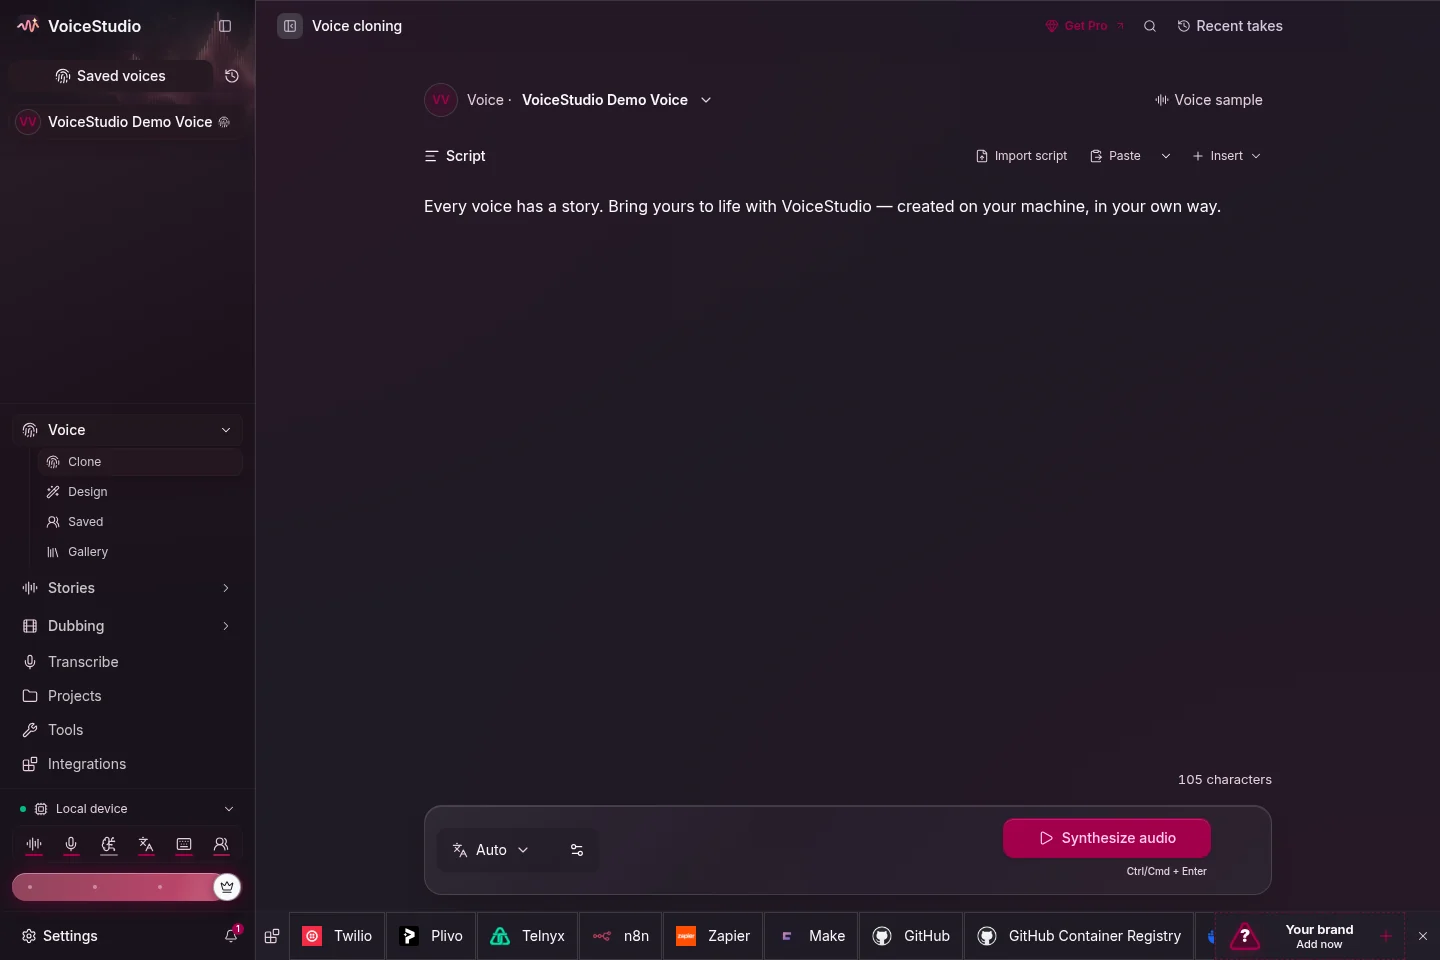
The edit is finished, then one sentence in the voice-over changes. Recording again takes time, while repeated cloud generations can add to the bill. Could you work on your own computer and keep control of the files? VoiceStudio brings several speech workflows into a desktop interface. Before giving it a client's recording, though, separate three things: the application, the speech engine and any external services you connect.
We reviewed the official documentation on October 27, 2026; we have not tested installation across every combination of hardware. The main-branch README can describe changes not yet in the latest release. If your interface differs, check the notes for the version you downloaded before following another build's instructions.
What the application handles
VoiceStudio brings together speech generation (TTS), voice cloning, voice design, transcription, dictation and video dubbing. A basic workflow starts with text and an engine and ends with an audio file for your edit. Dubbing adds other stages, including speech recognition, translation and timing. A successful sentence is not proof that an entire film will work equally well.
The current desktop interface uses Electron. The old Tauri interface is retired, so an MSI shown in an older tutorial is not the starting point. The README names the default VoiceStudio engine, powered by OmniVoice, alongside a catalogue of alternatives such as IndexTTS, CosyVoice, and KittenTTS. Engines differ in supported tasks, languages, resource use and licensing terms.
Evaluate your language rather than trusting a label
Arabic support is not the same as a successful Moroccan Darija test. Place names, French words inside Arabic sentences and everyday pronunciation may behave differently across engines. Prepare two short samples that resemble your actual work: one entirely in Darija, another with the technical vocabulary you normally use.
Try the Darija sentence: «هاد النسخة غير للتجربة، ومن بعد نراجعو النطق قبل ما نخرجو الفيديو.» It means: "This version is just a test; we'll review the pronunciation before releasing the video." Use it to compare results; quality depends on your model and settings. Listen to words, pauses, intelligibility and consistency from beginning to end. Keep the text identical when comparing engines, otherwise you cannot tell which change helped.
Check your computer first
Windows documentation lists Windows 10 or 11 on x64. An NVIDIA GPU can provide CUDA acceleration. CPU operation is available for supported workflows but is slower; do not buy hardware before choosing your engine and task. The Windows guide suggests roughly 10 GB of free disk for the application, environment and weights, with additional needs depending on downloaded models.
Apple Silicon has an MPS acceleration path. Intel Macs have a substantial restriction: the interface is available, but the README directs users to a remote backend instead of promising a fully local setup. Windows on ARM is experimental. Linux users should follow the platform guide and choose an appropriate release package. There is no single RAM or VRAM requirement that describes every engine.
Official installation and setup commands
On Windows, the easiest path from a standard, non-administrator PowerShell terminal is the verified official install script, which inspects your hardware and launches the installer wizard:
irm https://voicestudio.sh/install | iexEngine environments and model weights install under <app data>\engines and can consume tens of gigabytes. To keep your primary C: drive clean and store all engines on an external or secondary drive (e.g., D:), configure the environment variable before launching:
[Environment]::SetEnvironmentVariable('OMNIVOICE_ENGINES_DIR', 'D:\VoiceStudio\engines', 'User')If you prefer direct package downloads without running a script:
- Open the official repository Releases page linked below in the resources.
- Choose the Electron installer for your operating system and architecture (
.exefor Windows x64,.dmgfor macOS, or.AppImage/.debfor Linux). - Compare the download against
SHA256SUMS.txtsupplied with the release. - Install and open the application. The Windows installer bootstraps Python, FFmpeg, and default model resources on first launch.
First use: one sentence in your own voice
Open Voice cloning and choose an available demonstration voice or add a clean recording of yourself that you have permission to use. Music, strong room echo or overlapping speakers make a poor starting reference. Work from a copy and keep the original recording. A client's or actor's voice requires explicit permission for this use.
Check the reference transcript against the recording. Choose an engine that supports the intended language and task, enter your short text, and install the required model when prompted. Initial generation can take longer while weights load. Listen before extending the text. Change one thing at a time: wording, reference or engine.
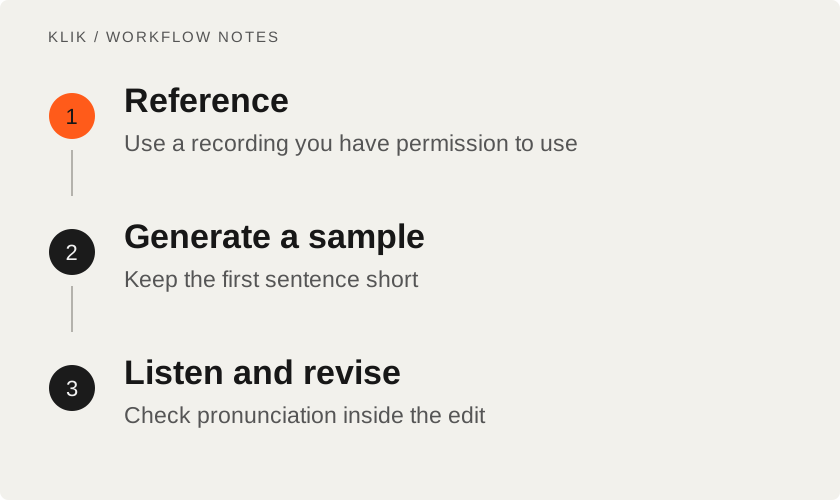
If a word is pronounced incorrectly, simplify its spelling or split the sentence and try again. Avoid changing every setting at once. Save the engine name, version and input alongside a good result. Listen again inside the edit: speech that sounds clear on its own may disappear under music or fail across a fast cut.
Move into dubbing gradually
Try a short, non-sensitive clip before processing a full video. Review recognition, translation, sentence boundaries and synchronization. Names and numbers deserve a human check. Overlapping speech and loud music are not necessarily problems that a different synthetic voice will fix.
Before running a batch, decide whether you need a separate audio file or a video with the new voice attached. Check pronunciation, timing and audio level at the beginning, middle and end. The export can finish without an error while a name is still mispronounced or a line arrives too late. You decide whether the timing and tone fit the scene.
Privacy, model licensing and paid editions
Local generation protects sensitive assets on your hardware, but models and code carry distinct licensing obligations:
- Application code (AGPL-3.0): The VoiceStudio application shell, backend, and scripts are licensed under GNU AGPL-3.0. You are free to use it internally or commercially, but if you modify the application and deliver it over a network (SaaS), you are obligated to offer your complete modified source code under AGPL-3.0.
- Model weights retain separate terms: This is the most critical distinction. The default
k2-fsa/OmniVoicepretrained model weights are released under CC-BY-NC (Non-Commercial). Commercial use of those model weights is strictly prohibited without a separate commercial license! - VoiceStudio Pro commercial edition: For organizations embedding VoiceStudio into closed-source commercial workflows without AGPL copyleft obligations or wanting proprietary cloud engines, Yupcha Softwares provides commercial licenses and Pro features at
https://voicestudio.sh/pro.
Open-source application code does not automatically grant rights to use every generated voice or underlying model weight in a commercial campaign.
When the first attempt stalls
For slow generation, inspect Device & compute in Performance settings: are you using CUDA, MPS or CPU? Also check whether the reference transcript is empty and whether memory is running low. Separate first-time loading from repeat generation time.
On Windows, TTS engines like IndexTTS and CosyVoice can trigger Triton / torch.compile kernel builds that cause out-of-memory crashes (CUDA out of memory). If this happens, open Settings → Performance and toggle "Disable torch.compile" on to force eager mode. If the backend fails to respond, inspect official troubleshooting and record the engine name and error output before opening an issue.
VoiceStudio suits someone willing to evaluate engines and review speech carefully. For a deadline on limited hardware, keep the established recording workflow available while testing. Once a result is dependable on your machine, consider how it fits into OpenMontage while retaining human review.
Keep reading
All KLIK guides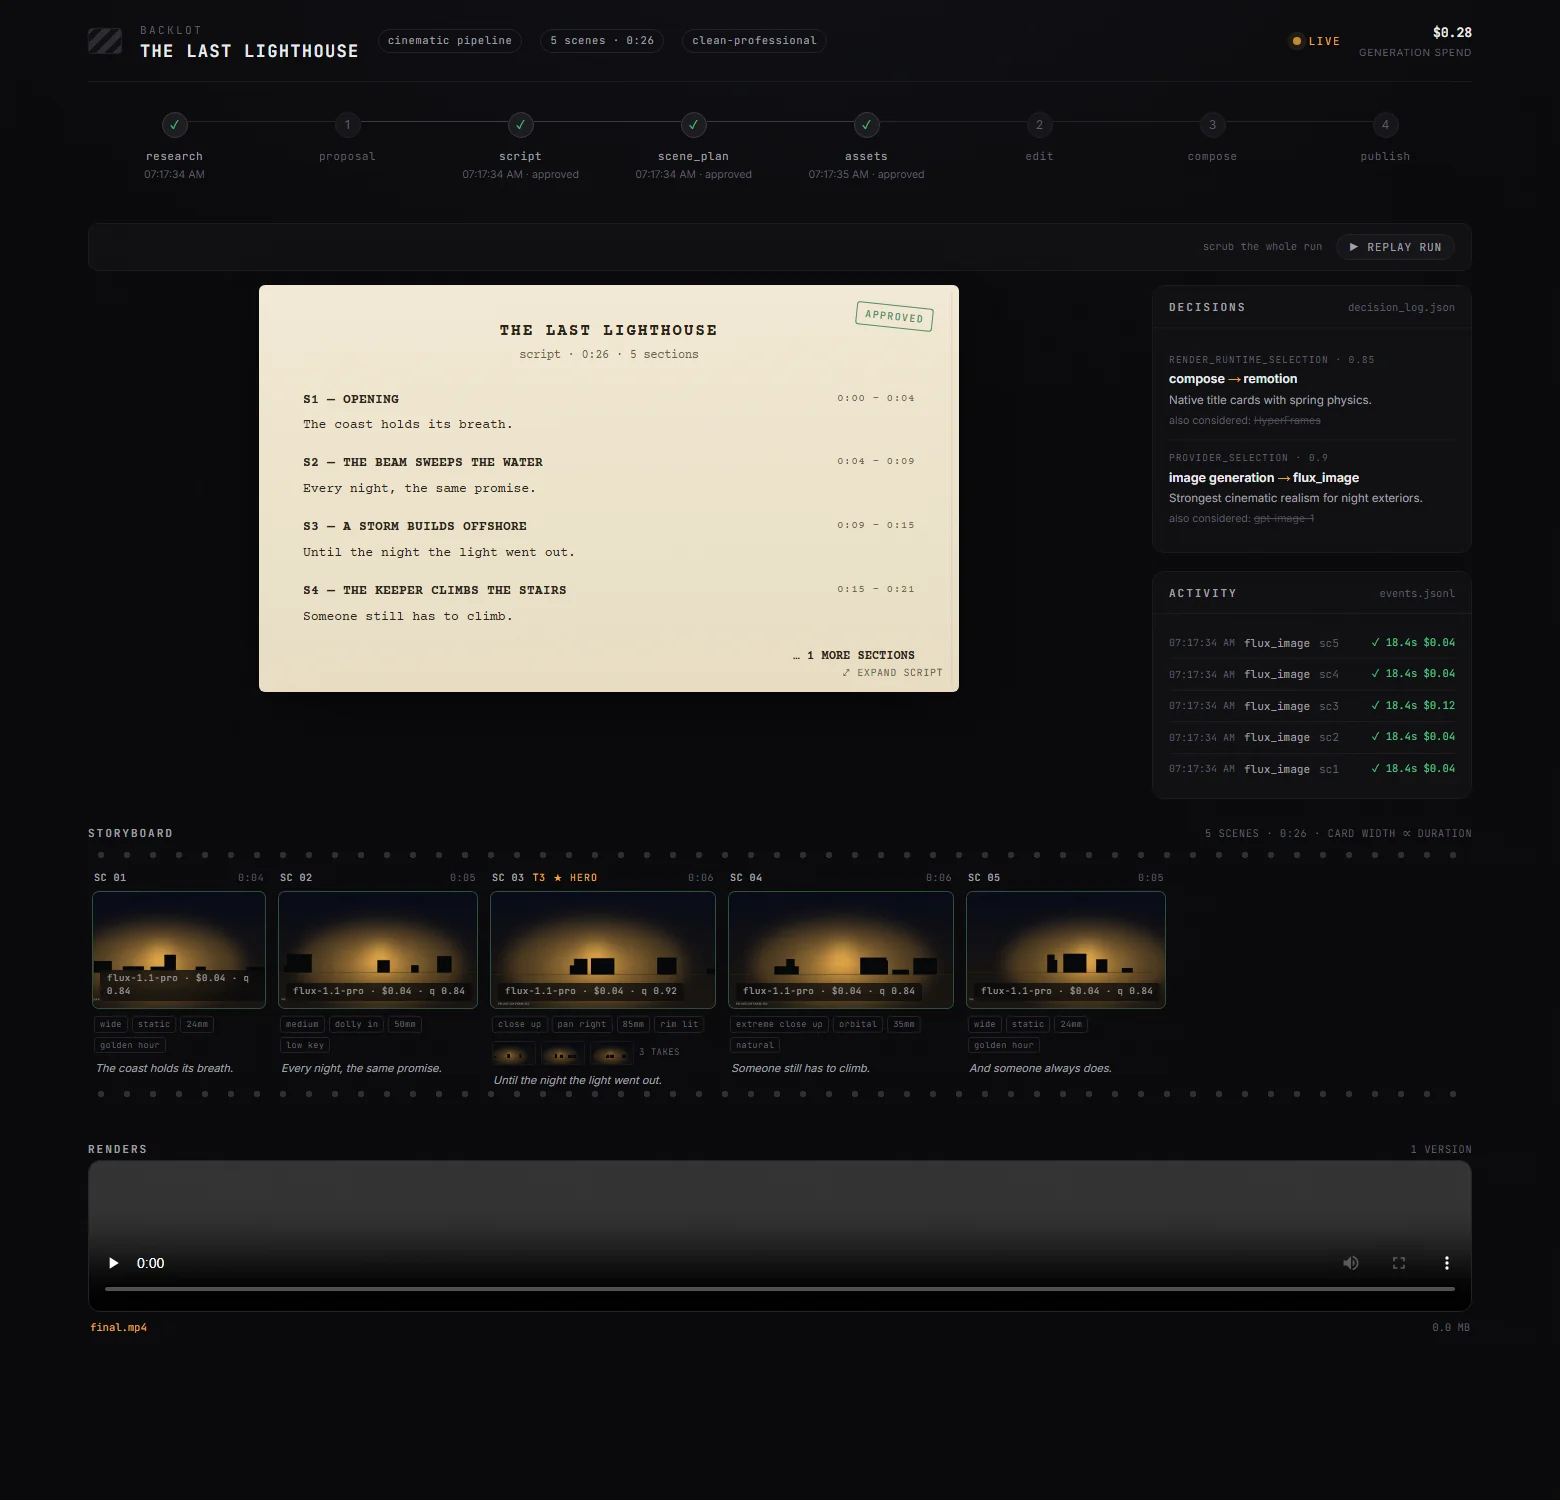
KLIK / 005OpenMontage · English
OpenMontage: orchestrate video production without the free one-click myth
Follow OpenMontage from brief and scene plan to assets and render. Set up a first workflow, distinguish rendering from generation and control provider costs.
KLIK / 006Pinokio · English
Pinokio: simpler AI app setup, with a clear view of script trust
Install Pinokio, inspect script sources, and run supported local AI apps while separating install success from private utility.
KLIK / 009HyperFrames · English
HyperFrames: render HTML motion graphics to video, without confusing it with a model
Create a first HyperFrames project, edit a small composition, preview and render it. Understand timing, fonts, audio, platform paths and external media costs.